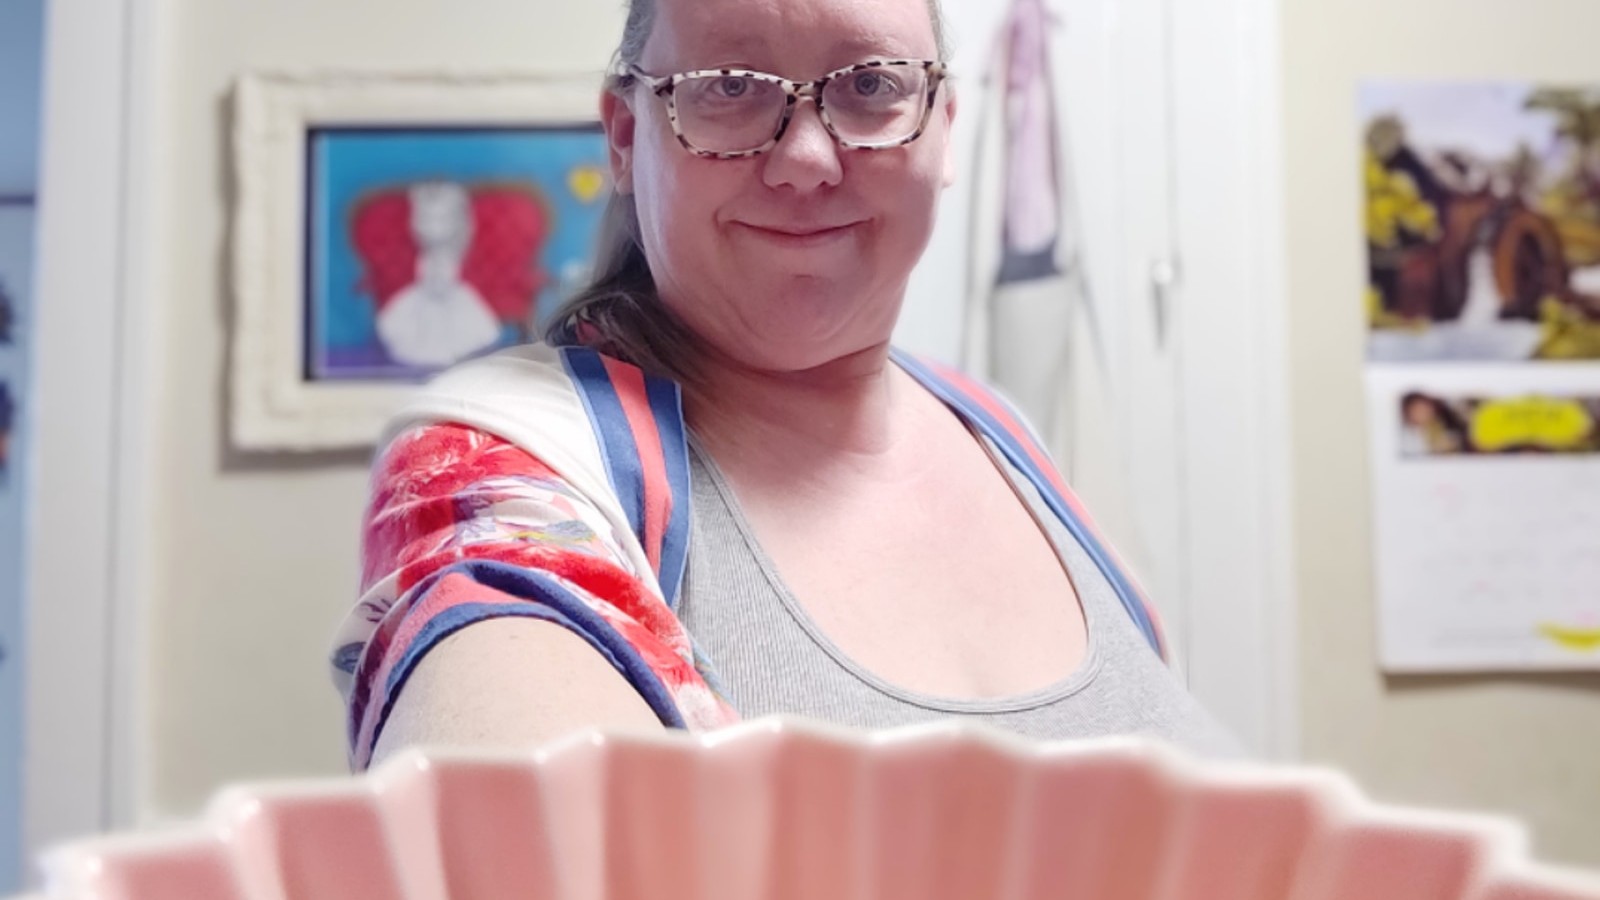
Holly se dedica al café desde 1999, comenzando en su ciudad natal de Kansas City. ¡En este punto, ella ha estado en el café durante más años de su vida! Holly cree que no existe una única manera de preparar el café “mejor”, sino que ahora tenemos una multitud de opciones que se adaptan a las preferencias de cada persona. Utilizando la menor cantidad de herramientas posible, su enfoque favorito para la elaboración de cerveza es versátil, instintivo y fácil de realizar para cualquiera.
IG: @roastratings @coffeeispeople
CAFÉ
Estación Fugi, Mujeres Ikizere, Ruanda, Natural
Tostado por Little Waves Coffee Roasters, Durham, Carolina del Norte
FÓRMULA DE PREPARACIÓN
Proporción: preparación 1:14 y dilución/bypass aproximadamente 1:1 (20 g de café: 280 g de agua)
Medio (las partículas son aproximadamente iguales a las de la sal molida a mano)
Temperatura del agua: 200 F (30-45 segundos sin hervir)
Brewing with Holly Bastin of Roast Ratings with a bypass technique
Category
Pourover
Cuisine
Flat Bottom Filter
Servings
280g
This recipe provides a fantastic way of having quality time with your own taste buds!
COFFEE
Fugi Station, Ikizere Women, Rwanda, Natural
Roasted by Little Waves Coffee Roasters, Durham, NC
BREW FORMULA
Ratio: 1:14 brew & about 1:1 dilution/bypass (20g coffee: 280g water)
Medium (particles are roughly the same as hand milled salt)
Water Temp: 200 F ( 30-45 seconds off boil)
Author:Holly Bastin (She/ Her)

Ingredients
-
Small Origami
-
Kalita Wave filter (flat bottom)
-
Gooseneck kettle (or a pouring vessel that gives some directional control)
-
Grinder
-
Carafe/Mug
-
tasting jareyeballs & palate (or a scale for practice/if you prefer to weigh)
-
20 grams of Fugi Station, Ikizere Women, Rwanda, Natural, Medium (particles are roughly the same as hand milled salt)
Directions
Boil your water & quickly rinse filter/heat device with at least 100g water. Dump rinse water from jar and add your ground coffee to the dripper, giving it a gentle "shimmy" to level out the grounds’ be. Water follows the path of least resistance ;)
Begin bloom by adding around 60g of water, intentionally spiraling from the center outwards to evenly wet the coffee. If you go a little over, that's ok - from my experience it's better to get a little too much than not enough - it's important to make sure all the coffee is saturated to make way for the rest of the brew. Water goes where it's been before, and the bloom is where we set that up!
Wait until the coffee stops bubbling/pulsating, which will be around 30-40 seconds into the brew. Again, starting in the center and spiraling outward, add the water with more 'vigor' (turbulence for those of us in the biz’) until the liquid level is about 1cm below the top of the Origami Brewer. Adding this pulse will last about 10-15 seconds & be another 100-130g of water, depending on the coffee. Allow to drain off to leave 1/3 of the liquid.

For the last pulse, starting around 1:10-1:20 into the brew, there are two main goals:1- to knock the coffee down off of the walls (so it all gets extracted!)2- to gently add the rest of the brew water (so we don't over-extract it!)This time, start from the very edge of the grounds, carefully knocking the clinging grounds down into the brew bed. Take this outer spiral slowly and ease your water flow- there is no rush. Once all of the coffee is down in the bed, take your time with that same gentle flow, spiraling towards and settling into the center until the liquid is about 1 inch from the top of the device. Allow to drain until drip (around 2:20 into the brew).This process will add around 70-90g of water and last about 20 seconds or so. This pulse, at least for me, is my favorite part for it can be quite meditative!
Remove the Origami Brewer and swirl the liquid brew in the glass, really taking in its solid dark brown color tones. This will be important as we dilute!Using a glass tasting vessel, pour off 2-3 oz of your brew. Rather than using the whole brew, we are going to push this little sample 'til it breaks' by adding hot water to it little by little. Taste it, noting the 2 or 3 main things that pop out to you. I usually notice is popped acidity and intense complexity at this concentration.
Add 1/2-3/4oz of water and taste - pay attention to how the flavors you first recognized are changing shape as more space is added to the brew. From my experience, acidity is getting more discernable & sweetness is starting to become detectable. The bitterness is not gone, but diminished.Note the color change of the brew liquid -though still solid brown, it is now starting to become dark red at the edges.
Add another 1oz swig of hot water, watching it gain some clarity, officially go from brown to red at the heart of the liquid, a little orange around the edges.Take a sip, noting how this has changed those characters yet again! From my experience, this is where the acidity becomes recognizable as something in particular - maybe peach or sweet orange for an example. The sweetness will have enough room now to bring things into balance and the bitterness/complexity will be in more of a supportive role.
Keep adding a touch more water, following these same observations of flavor and color until you know that you have pushed it just to the other side of the 'sweet spot' for you. Once you have gone too far, add a teensy bit more concentrate to your tasting glass and, using water, get it back to the balance you most enjoyed.
Now, with your tasting glass as a color reference, begin adding water to the main brew. Hold them up next to each other to check your progress until they match in reddish tone and clarity. For me this almost always end up being about 1:1 - one part brew liquid to 1 part water - give or take as the coffee character allows. In the end I usually get about 400+g of brew from 20g of coffee.
Recipe Note
TIPS AND TRICKS:
While scales and brew tools can be really helpful tools to learn with, paying close attention to your senses - color, tastes, smells - is what will pay off in the long run. Take in some joy in the moments where it is just you and the coffee!


